How to Prep Your Garden Beds
Plotting Your Way to the Garden(all pictures by Della Chen Photography)
With the basic principles covered (water, sun, and space; seeds) and the impending approach of spring, it is officially time to break ground in the garden. Whether starting from scratch, or adding to an already growing landscape, following these general rules will help guide you through the process. And checking out some online vids for how to prepare your gardens for spring is never a bad idea.
The next step in the great urban gardening adventure is to actually get to building and shaping your beds. First, though, you have to make sure your ground is ready to plant.
Prepping your Plot City farmers need to start with a nice clear garden space before building or planting — you may need to kill grass or pull weeds before starting. To clear grass or sod, you can rent a sod cutter (which will include directions), or use good, old-fashioned manual labor to cut away squares of grass with a spade. Turn each dug-up patch of grass upside down — burying the grass, exposing the soil, and allowing the grass to rot over time. Instant homemade compost!
For invasive ground cover — plants that root down deep and grow back even after weeding or mowing — there really is no easy way short of getting in there and mindfully digging it out. Ground cover plants spread quickly, as is their intended habit, and so you must be careful to remove every root system. Use a shovel (I prefer my spade) and dig deep, loosening the soil a bit deeper than the roots have grown. For truly invasive plants, like ivy, you must also take care to remove all leaf matter, as even cuttings can produce new plants. Have more questions about grass removal? Post in the comments and I'll do my best to help!
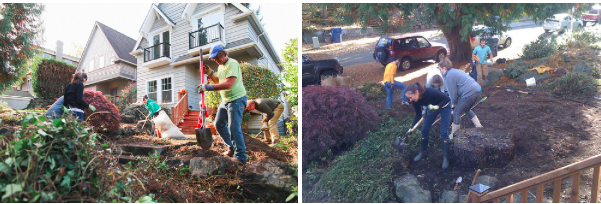
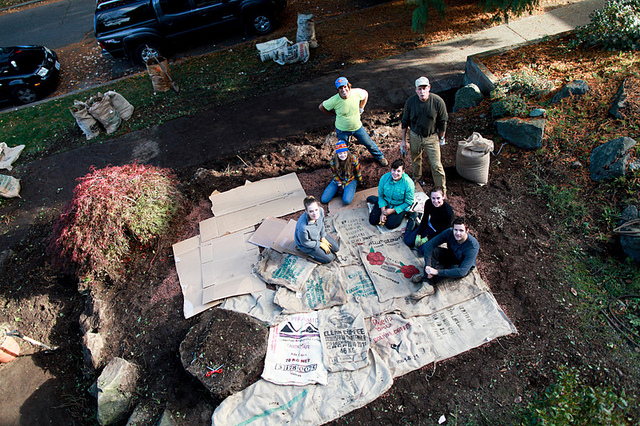
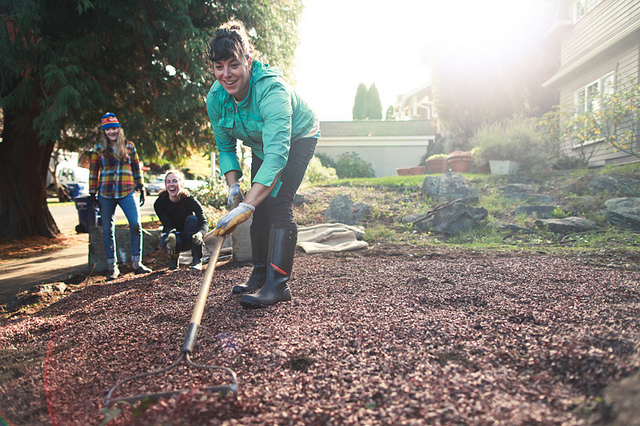
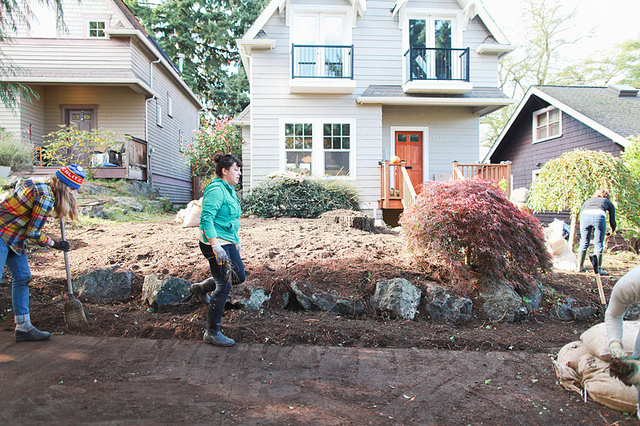
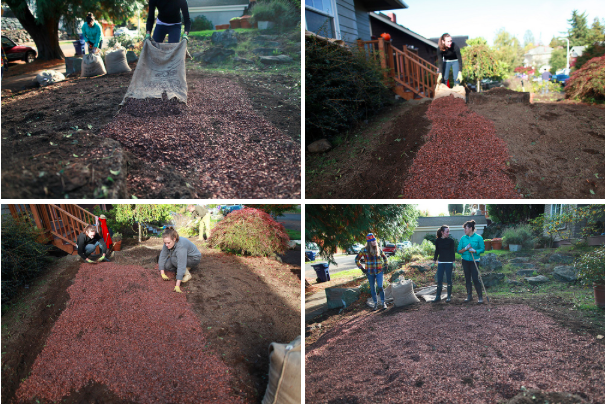
Once the area is clear, it is wise to compost and mulch it. In Erin's garden (above) we had a crew of friends over one winter Saturday morning and worked really hard for six hours to complete the task. Be sure to share your future vegetable harvest with your helpers! Here are the layers you'll need:
• An inch-thick layer of compost will add needed nutrients and organic matter to the soil.
• A layer of mulch will further aid in decay, which is good because it invites good bacteria into your soil in addition to protecting the exposed soil from erosion and compaction from rain.
• A layer of cocoa bean chaff ($10 a bag at Theo Chocolate in Seattle; you can also use wood chip mulch) to eventually break down and decay into compost. (NOTE: Cocoa bean chaff can be life-threatening to dogs, so if you're a pet owner, another form of mulch is highly recommended!)
• Use burlap coffee bean bags (procured from Stumptown Roasters and available at other Seattle roasting houses) to cover the garden. You can also use coffee grounds and newspaper, or just cardboard — any not-too-thick material that will decompose and add organic matter to the soil is perfect. Covering the compost and soil has many benefits; it will keep sun off any left-behind plants preventing them from growing, warm up the earth, and further help the process of decomposition.

Materials When you're ready to plant, it's time to build the garden beds themselves. Beds are essentially formed mounds of soil that are raised higher than the surrounding landscape. If you're starting with a blank slate, there are many options for building a bed outside of simply mounding up the soil.
When contemplating any space, the first two items to consider are aesthetics and budget — a happy marriage of both principles should always be your goal. You can use a variety of materials for garden beds, so long as there is support for the bed walls to hold in the containing soil. These super simple designs allow you to avoid construction if you have an aversion to tools or lack any formal toolbox or training:
• Cinderblocks are inexpensive if not free, are often salvageable from existing sites, and require no tools at all outside your physical brawn to stack them.
• Sticks and fallen branches you gather from the ground can be used to erect a bed. Create a retaining fence by pounding rebar or another sturdy stake material about 12" deep and about 1-2 inches apart into the earth in parallel rows. This acts as your frame wherein you can stack sticks horizontally between them creating a wall. You can fill in any gaps with smaller sticks or Spanish moss.
• Wood can be used to easily construct a rectangular bed — look for untreated lumber (cheap and durable) or cedar(more expensive than lumber, but longer-lasting). You can even add a ledge to sit on when you weed your garden beds.
As for the perfect size, remember not to build any bed more than 4 feet wide. Any larger and you won't be able to easily reach in to the center. Also be sure to leave a two-foot minimum of space between each bed to allow for walking between beds.
Soil Now that the garden beds are complete, you'll need to fill them. The easiest way to do this is to have a mix of topsoil and compost delivered — I recommend a 70-30 mix. Often new gardeners will their beds exclusively with compost; while it adds necessary organic matter to your soil, compost also retains water and lacks the mineral structure found in topsoil. Topsoil allows for drainage and is a necessary ingredient in any garden mix. When you fill your beds, be sure to fill them to the very top. You want the soil/compost flush with the lip of the bed, as soil will compact over time. This can create a shade ledge in the bed — not the best for sun-loving seedlings.
If you're starting the year with already-built beds, you'd do well to top them off with a bit of pure compost. I cover the topsoil with about an inch of compost and hoe it in, but any amount is better than none. Compost helps add good bacteria, organic matter, and nutrients like nitrogen to your soil. Always choose organic, and opt for a compost made close to home. Many city municipalities are turning their waste into compost, so call your city offices for details.